
The Journey of a Bitcoin Node
A simple guide for setting up your node and exploring the Bitcoin blockchain

Last week, I kicked off a fun project with my team at Hatch (my startup in Sydney, Australia) to build a headless Bitcoin full node on a Raspberry Pi at the Hatch HQ.
Firstly, what is a Bitcoin node, and why should we bother to run one?
A Bitcoin node validates transactions and blocks on the Bitcoin blockchain. Technically, a node is a running instance of a bitcoin daemon - usually the Bitcoin Core reference client, bitcoind (where a “daemon” is simply a program that runs behind the scenes without user intervention). However, it’s worth noting that there are several alternative Bitcoin node implementations, which you can see summarised here.
Full nodes contain a copy of the entire Bitcoin blockchain and perform two important functions:
Full nodes validate blocks and transactions, and propagate these transactions throughout the Bitcoin node network;
Full nodes provide “lookup” of historic blocks, which is necessary for new nodes synchronising with the network.
Running a full node is ultimately an altruistic endeavour that helps to secure the network by protecting against sybil attacks. This is an attack where an adversarial player seeks to subvert the network by gaining control of a significant proportion of nodes in the network and then censoring the propagation of transactions. According to Bitnodes, there are approximately 11,700 full nodes currently live on the Bitcoin network, which is a relatively small number given that there are an estimated 460 million bitcoin addresses. So operating a Bitcoin node is potentially the most impactful action you can take to protect the integrity of the Bitcoin network, as well as the security of your magic internet money!
If you’d like to learn more about the role of nodes in the Bitcoin network, I would highly encourage you to watch this video from Khan Academy.
Equipment required to run your Bitcoin node
The equipment required to run our node was relatively inexpensive, and everything could be ordered off Amazon within a few days. Here’s a quick breakdown of the hardware we bought:
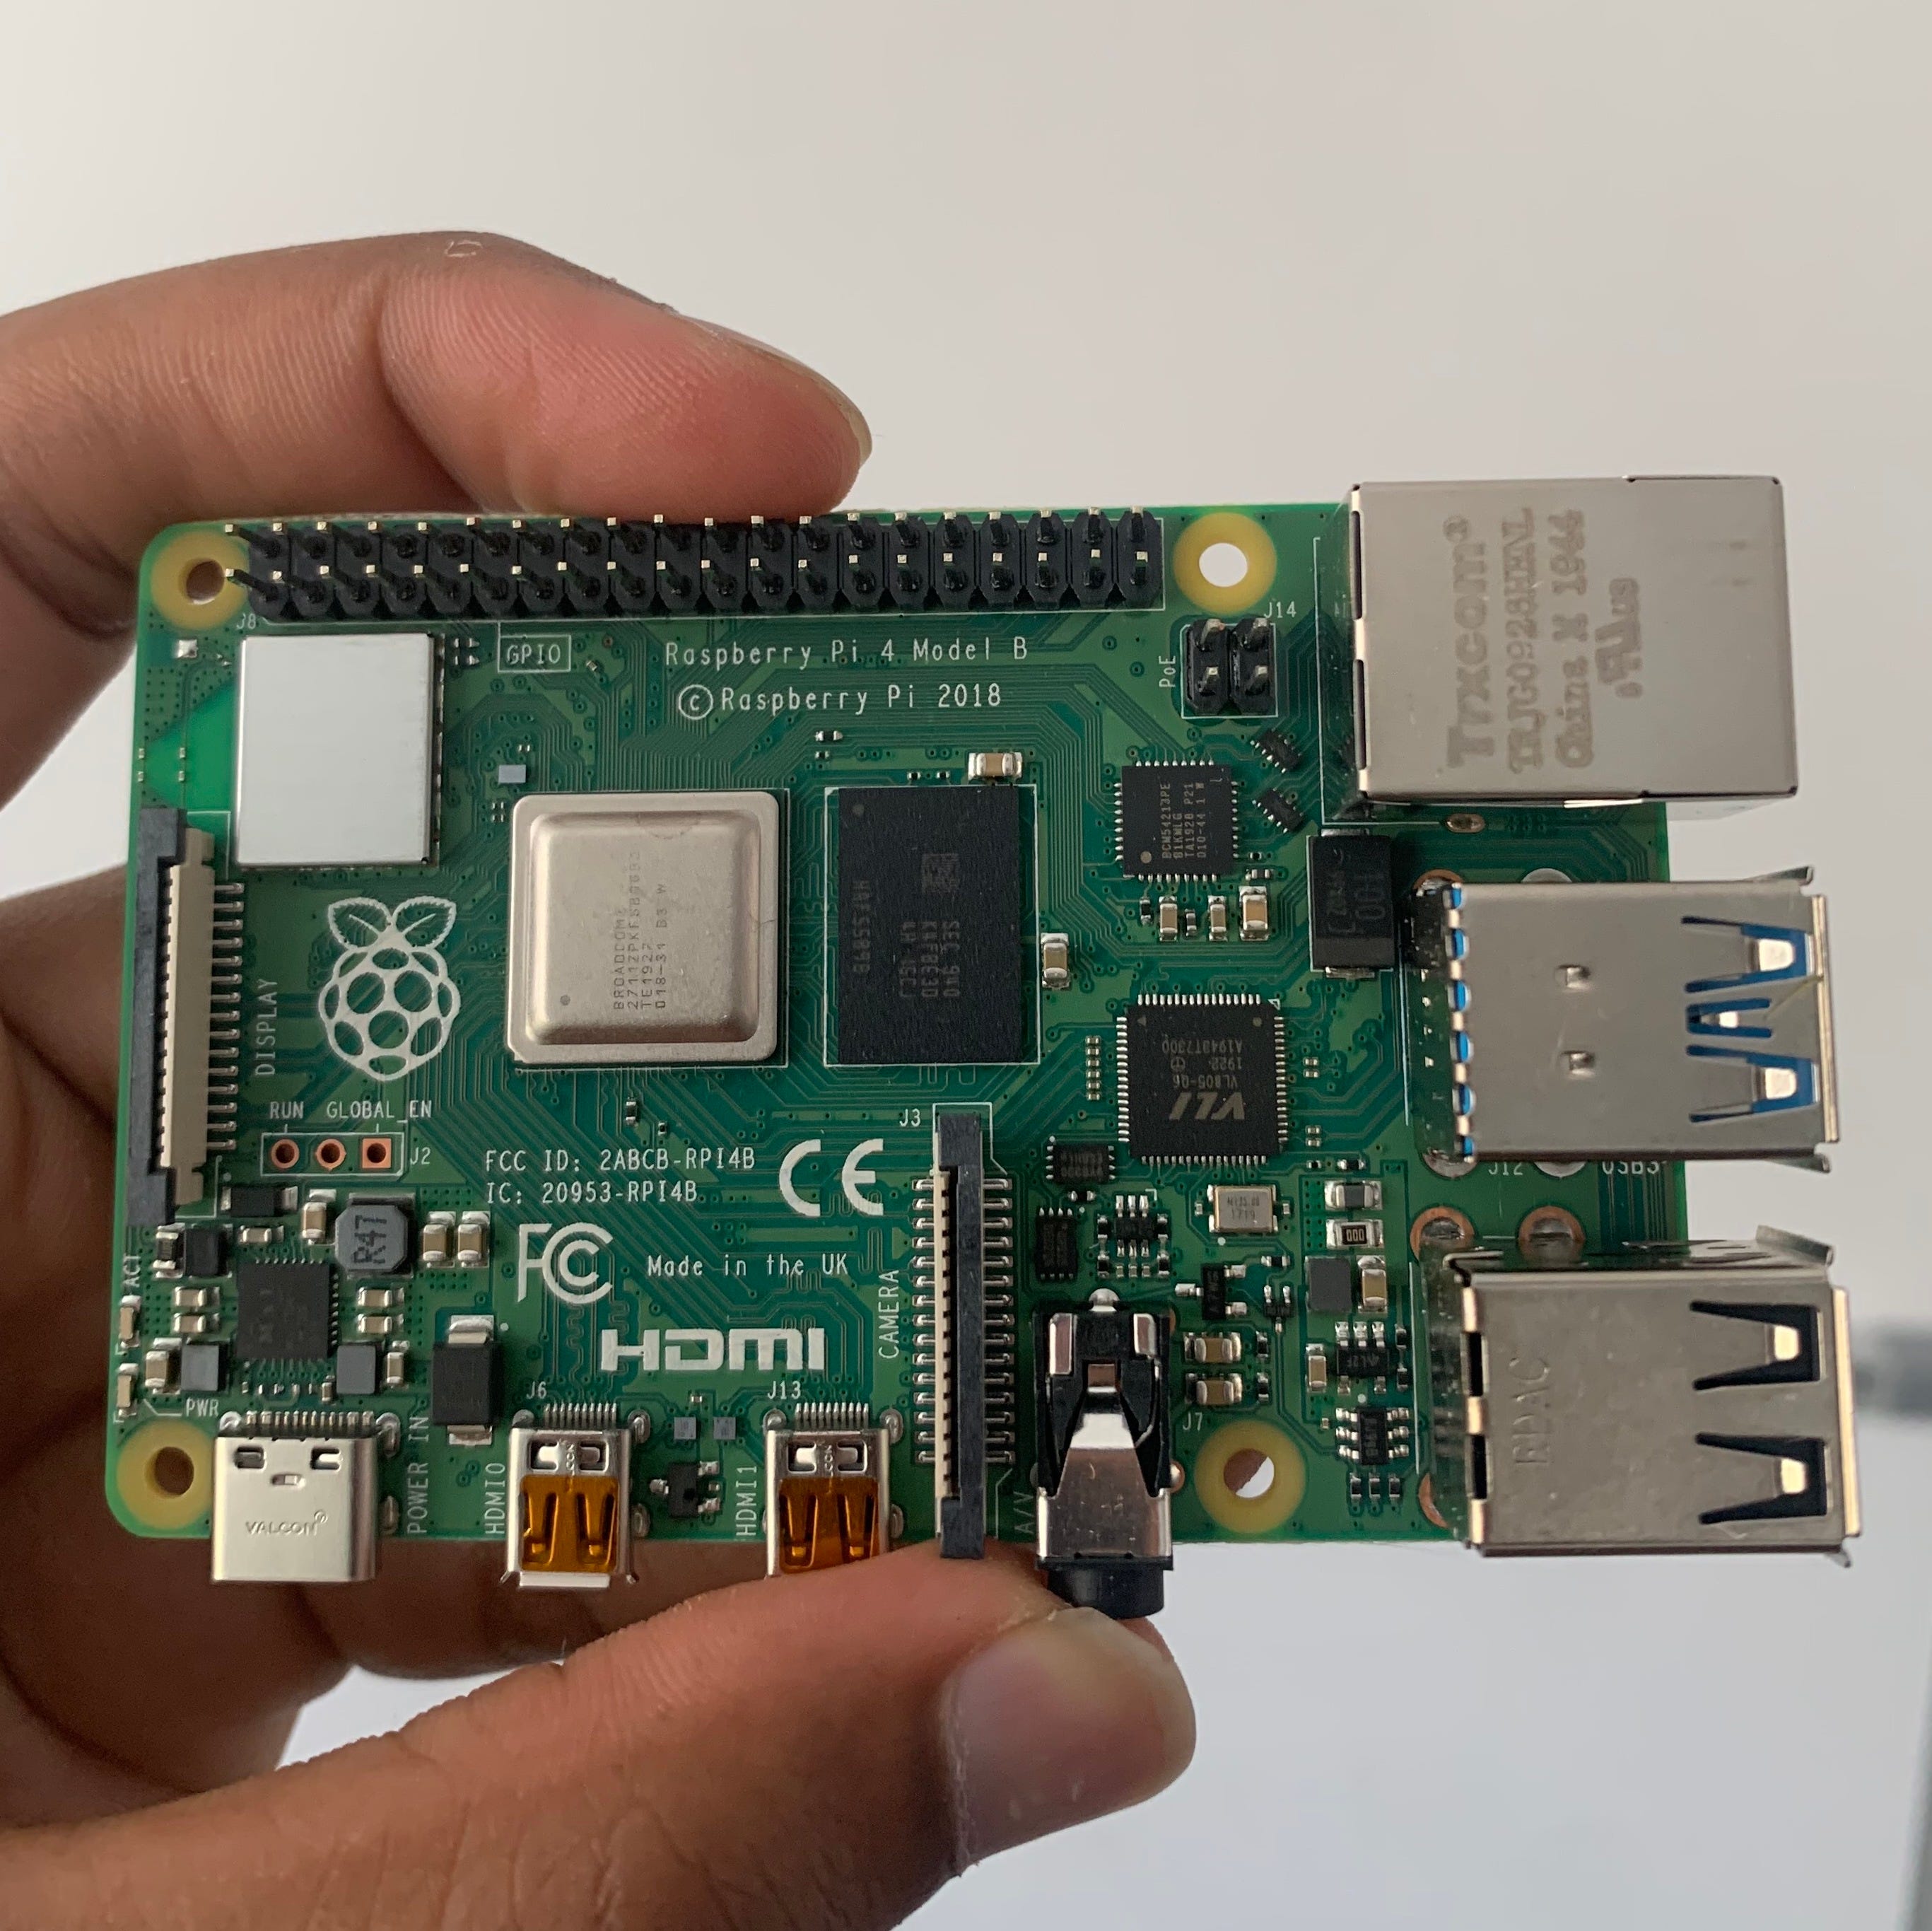
Raspberry Pi 4 4GB Model B with 1.5GHz 64-bit quad-core ARMv8 CPU (4GB RAM)
Raspberry Pi 4 Case, CanaKit Fan, Set of Heat Sinks
Micro HDMI to HDMI Cable - 6 foot
CanaKit 3.5A USB-C Raspberry Pi 4 Power Supply with Noise Filter
CanaKit USB-C PiSwitch (On/Off Power Switch for Raspberry Pi 4)
Seagate Portable 1TB External Hard Drive

I would recommend purchasing the CanaKit Raspberry Pi 4 4GB Basic Starter Kit with Fan (4GB RAM) here because the package comes with almost everything you’ll need to get up and running. Also the see-through case for the Raspberry Pi just looks really cool! Other than the CanaKit package, the only other hardware I had to purchase was a 1TB external drive. The Bitcoin blockchain is roughly 300GB, so you’ll need additional storage beyond the 128GB SD cards commonly sold alongside Raspberry Pis.
Altogether, we spent $285 on hardware. You might be able to complete this project with a slightly smaller budget if you bought each component in the CanaKit starter pack individually (and of course, if you already have a spare external drive).
It’s worth noting that you don’t need to purchase a monitor or keyboard (assuming you already have a laptop) because you’ll be able to connect to your node using Secure Shell (SSH), which will allow you to type commands for your Pi directly from your laptop through terminal.
Once our hardware arrived, it was relatively simple to assemble the Raspberry Pi. I would strongly recommend installing the electronic fan that comes with the CanaKit, as our Pi became noticeably hot to touch a few hours into downloading the Bitcoin blockchain.
Configuring the Raspberry Pi and syncing your node
You’ll need to configure your Raspberry Pi before you can get started syncing your node. This took us about an hour to complete.
Step 1 — Install Raspberry Pi OS and enable SSH
Once you boot up your Pi, the first thing you’ll need to do is install Raspberry Pi OS. Quick steps below and more detailed description here.
Download the Raspberry Pi Imager installer for your Operating System from the Raspberry Pi downloads page.
Run the installer and complete the setup by following the prompts.
Launch Raspberry Pi Imager and click Choose OS.
Select Raspberry Pi OS from the list.
Click Choose SD card and choose the microSD card you want to flash the new OS to and click Write (if you’ve already configured your external drive, you should be able to select it here, instead of using the microSD)
If you don’t have a dedicated monitor and keyboard for your Pi, go ahead and enable SSH (detailed instructions here), so you can remotely connect to your Pi from your laptop.
Step 2 — Connect and configure your external drive
Word of warning: Remember, the Bitcoin blockchain is 300GB+ and growing, so you’ll probably want an external drive with at least 1TB of storage. I bought a Seagate 1TB HDD for this project, and honestly I would not recommend this external drive. While the drive was relatively cheap ($65), it took us about a week to download the Bitcoin blockchain! I’m not sure if this was impacted by an unreliable internet connection, but undoubtedly, it would have been much faster to complete this project if we used an SSD (or Solid State Drive), as they tend to have faster read and write speeds. Anyway, after an entire week of anticipation, we came back to the office on Monday morning and our Seagate HDD had finally completed the download.
Connecting your external drive is straight forward: you simply plug it into your Pi using one of the two USB ports.
To configure the drive, you install the corresponding “storage driver” directly onto your Pi (through the command line of your laptop using SSH). To complete this step, you’ll need to check the file system of your external drive.
My external drive was formatted in “exFAT”, so I ran the following command to install the corresponding storage driver:
sudo apt-get update
sudo apt install exfat-fuse
Step 3 — Mount your external drive
Next, you’ll need to “mount” the drive, which simply makes your drive accessible for use by your Raspberry Pi. The following command should spit out the partition listing of your drive:
sudo blkidNow to mount the disk, run the following command, replacing sda1 with the specific name of your disk revealed in the partition listing:
sudo mount/dev/sda1/mnt/btcNote, we’ve simply called the directory that will store the Bitcoin data btc, but of course, you could choose an alternative name.
Step 4 — Download bitcoind
Run the following set of commands to download and install bitcoind:
wget https://bitcoin.org/bin/bitcoin-core-0.20.1/bitcoin-0.20.1-arm-linux-gnueabihf.tar.gz

tar xvf bitcoin-0.20.1-arm-linux-gnueabihf.tar.gz

sudo install -m 0755 -o root -g root -t /usr/local/bin bitcoin-0.20.1/bin/*
Once this is complete, you should be able to run the bitcoind daemon by running the following command:
bitcoind -daemon --datadir=/mnt/bitcoinStep 5 — Sit tight as the download takes place!
You’ve essentially completed the process, and now you simply need to wait as the blockchain downloads. Depending on your internet speeds and the quality of your external drive this may take a few hours, or several days (as it did for me).
Exploring the Bitcoin blockchain
Once you’re up and running with your node, you can use bitcoin-cli, the command line tool of Bitcoin Core, to explore the Bitcoin blockchain. For instance, you might like to explore the Genesis Block (the first block ever mined on the Bitcoin blockchain), and take a look at the secret message recorded by Satoshi Nakamoto in the hex of the block hash.
To examine the Genesis Block, you’ll run the getblockhash command:
bitcoin-cli getblockhash 0Your node will hopefully report back the hash corresponding to block “0” - i.e. the Genesis Block:
000000000019d6689c085ae165831e934ff763ae46a2a6c172b3f1b60a8ce26fNow that you have the hash, you can ask your node for the full content of the block. Notice that I add a “2” at the end of the command, which will give us additional transaction data in the output.
bitcoin-cli getblock 000000000019d6689c085ae165831e934ff763ae46a2a6c172b3f1b60a8ce26f 2Your output should contain the following hex message:
"hex": "01000000010000000000000000000000000000000000000000000000000000000000000000ffffffff4d04ffff001d0104455468652054696d65732030332f4a616e2f32303039204368616e63656c6c6f72206f6e206272696e6b206f66207365636f6e64206261696c6f757420666f722062616e6b73ffffffff0100f2052a01000000434104678afdb0fe5548271967f1a67130b7105cd6a828e03909a67962e0ea1f61deb649f6bc3f4cef38c4f35504e51ec112de5c384df7ba0b8d578a4c702b6bf11d5fac00000000"You can transform this hex into a human-readable message by wrapping it in the following echo command:
echo "01000000010000000000000000000000000000000000000000000000000000000000000000ffffffff 4d04ffff001d0104455468652054696d65732030332f4a616e2f32303039204368616e63656c6c6f72206f6e20 6272696e6b206f66207365636f6e64206261696c6f757420666f722062616e6b73ffffffff0100f2052a010000 00434104678afdb0fe5548271967f1a67130b7105cd6a828e03909a67962e0ea1f61deb649f6bc3f4cef38c4f3 5504e51ec112de5c384df7ba0b8d578a4c702b6bf11d5fac00000000" | xxd -r -p The output should reveal Satoshi’s hidden message in the Genesis Block, which foreshadows the collapse of the legacy financial system:
“The Times 03/Jan/2009 Chancellor on brink of second bailout for banks”
References and further reading
Kalle Rosenbaum (2019) Grokking Bitcoin, Manning Publications (read more)
Mattias Geniar (2019) Retrieving the Genesis block in Bitcoin with bitcoin-cli (read more)
Tyler A. (2021) How to Run a Bitcoin Full Node on a Raspberry Pi, howchoo (read more)
Zulfikar Ramzan, Bitcoin: Transaction block chains, Khan Academy (read more)
Bitcoin Nodes Summary, Coin Dance (read more)Running A Full Node, Bitcoin Core (read more)
Global Bitcoin Nodes Distribution, Bitnodes (read more)
How to Create Your Own Bitcoin Full Node With a Raspberry Pi, raspberrypifullnode (read more)
Original Bitcoin client/API calls list, Bitcoin Wiki (read more)